
Setting up a Webhook Notification allows you to send conversion data from Katalys to any external system that can receive data through a public HTTPS URL.
Follow the steps below to set up your integration:
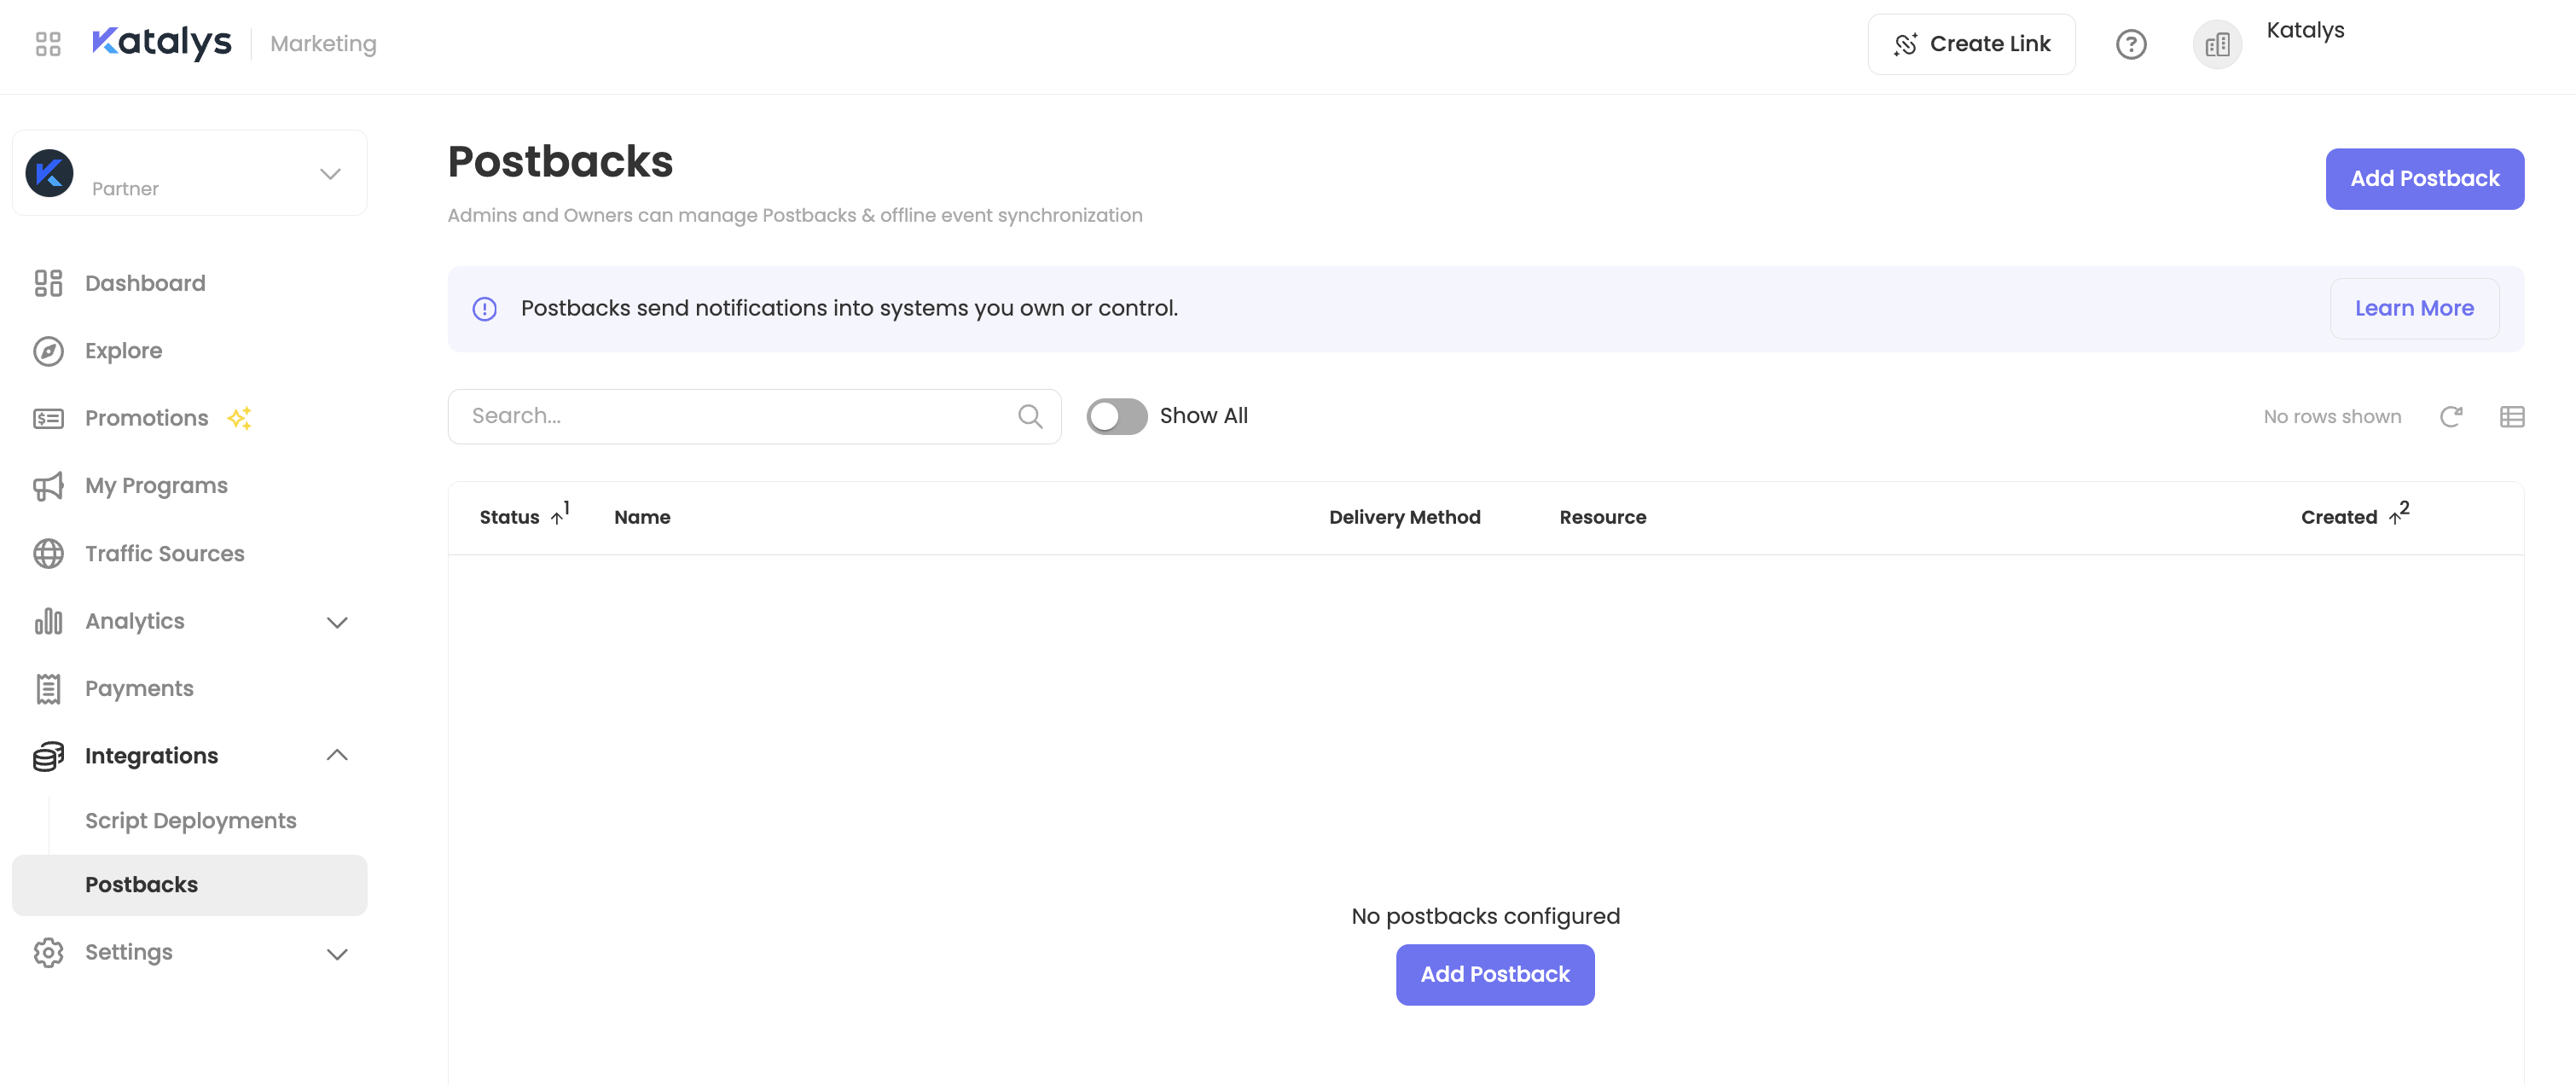
Step 1: Access Postback Settings
-
Login to your account and click “Postbacks” from the sidebar menu,
or click here to go there now → -
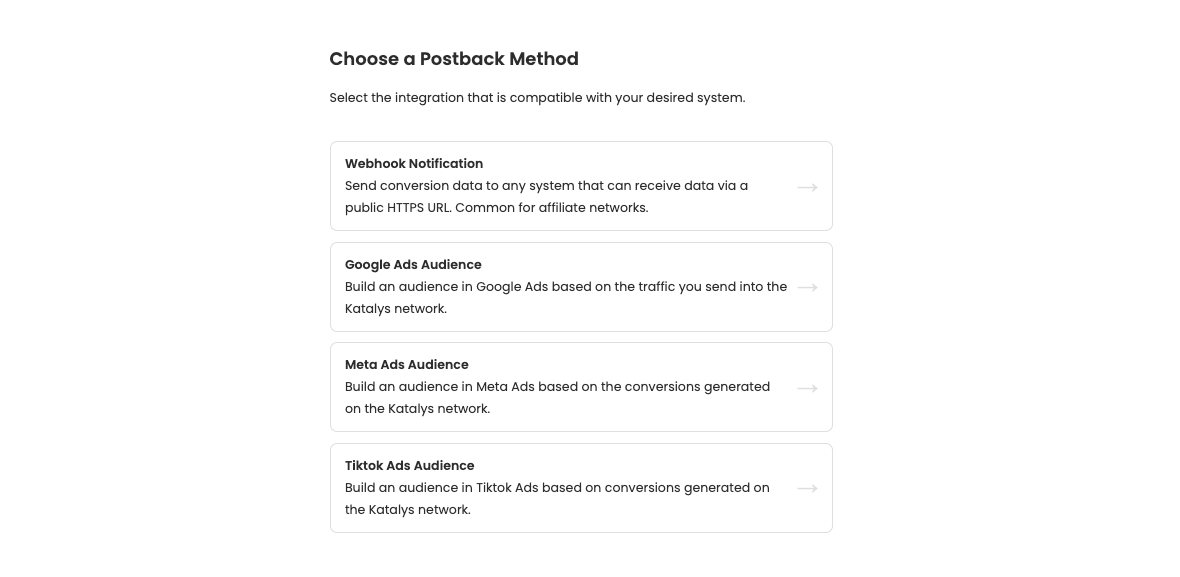
Click “Add Postback”
-
Choose “Webhook Notification” from the list of available methods.
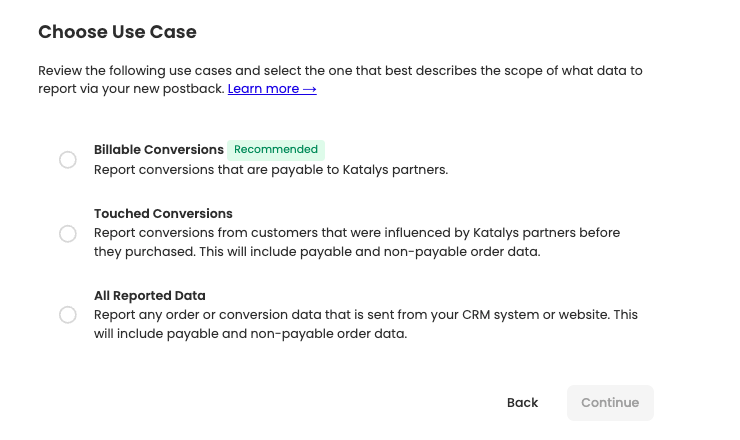
Step 2: Choose a Use Case
Read more about Partner Use Cases and partial attribution ->
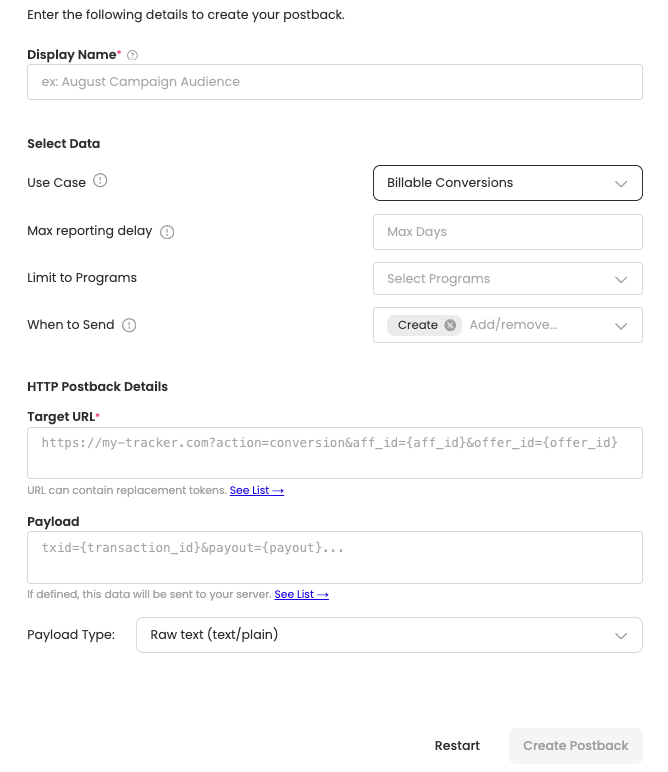
Step 3: Enter postback details
Complete all required fields:
-
Display Name - The postback name displayed in the interface.
-
Use Case - Read more about Partner Use Cases and partial attribution ->
-
Max Reporting Delay - By defining this parameter, the postback will only be triggered if the time delay between click and conversion is less than this number of days. This may be important for media buying, when restricting audiences to just the most important traffic.
-
Limit to Programs - Select from a list of your approved Programs to filter and limit conversion data sync from selected Programs.
-
When to Send - Postbacks on other networks typically only give you "create" postbacks, which alert you to new conversions. Katalys can also send you "update" notifications when a conversion changes value, or "delete" when a conversion is rejected. Ensure that you include {conversion_status} in your URL or Payload fields so you can update your records when you receive the notification.
-
Target URL: This is the destination URL where Katalys will send the postback when a conversion event occurs.
Optional - Complete Payload Information:
-
Payload: This optional field defines the data Katalys will send in the body of the postback request.
-
Payload Type: Specifies how the payload data is sent to your server.
-
Raw text (text/plain), JSON data (application/json), or Form data (application/x-www-form-urlencoded)
-
Step 4: Confirm selections and save
-
Confirm your selections, ensuring all fields are correct.
-
Save to create your postback.
Setting Campaigns Live and Managing Postbacks
Before your campaign goes live, ensure you’ve reviewed and completed the required items on Tracking Click Campaigns ->
Then, learn more about how to manage your postbacks here ->