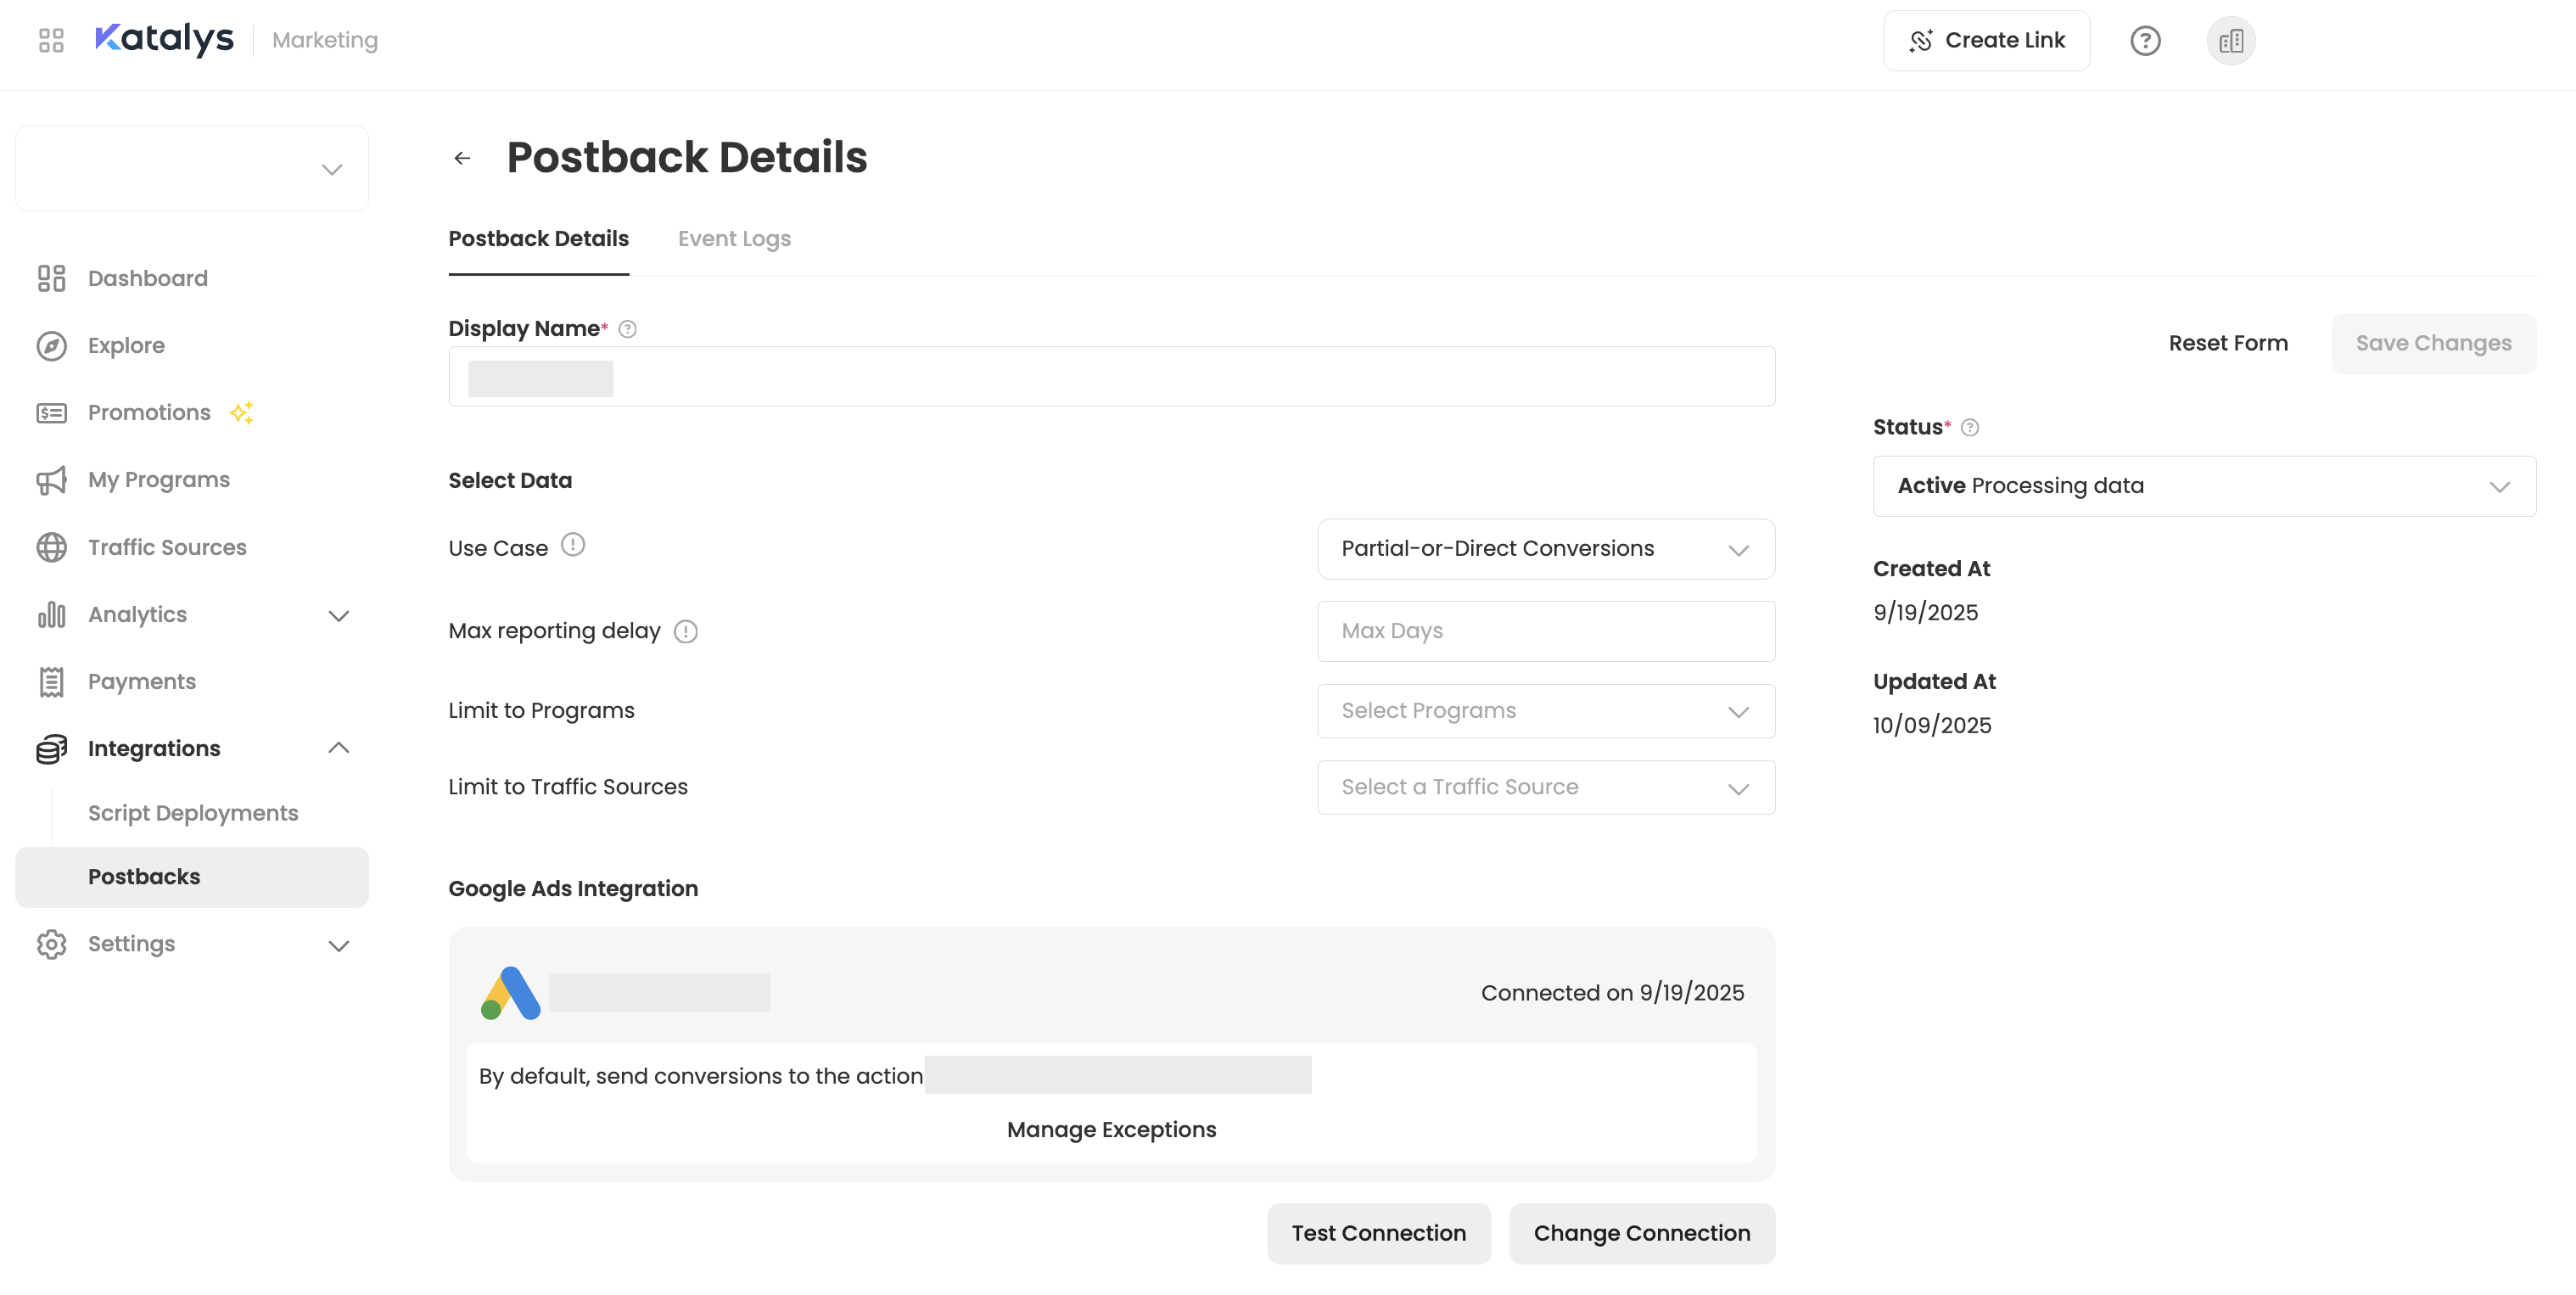
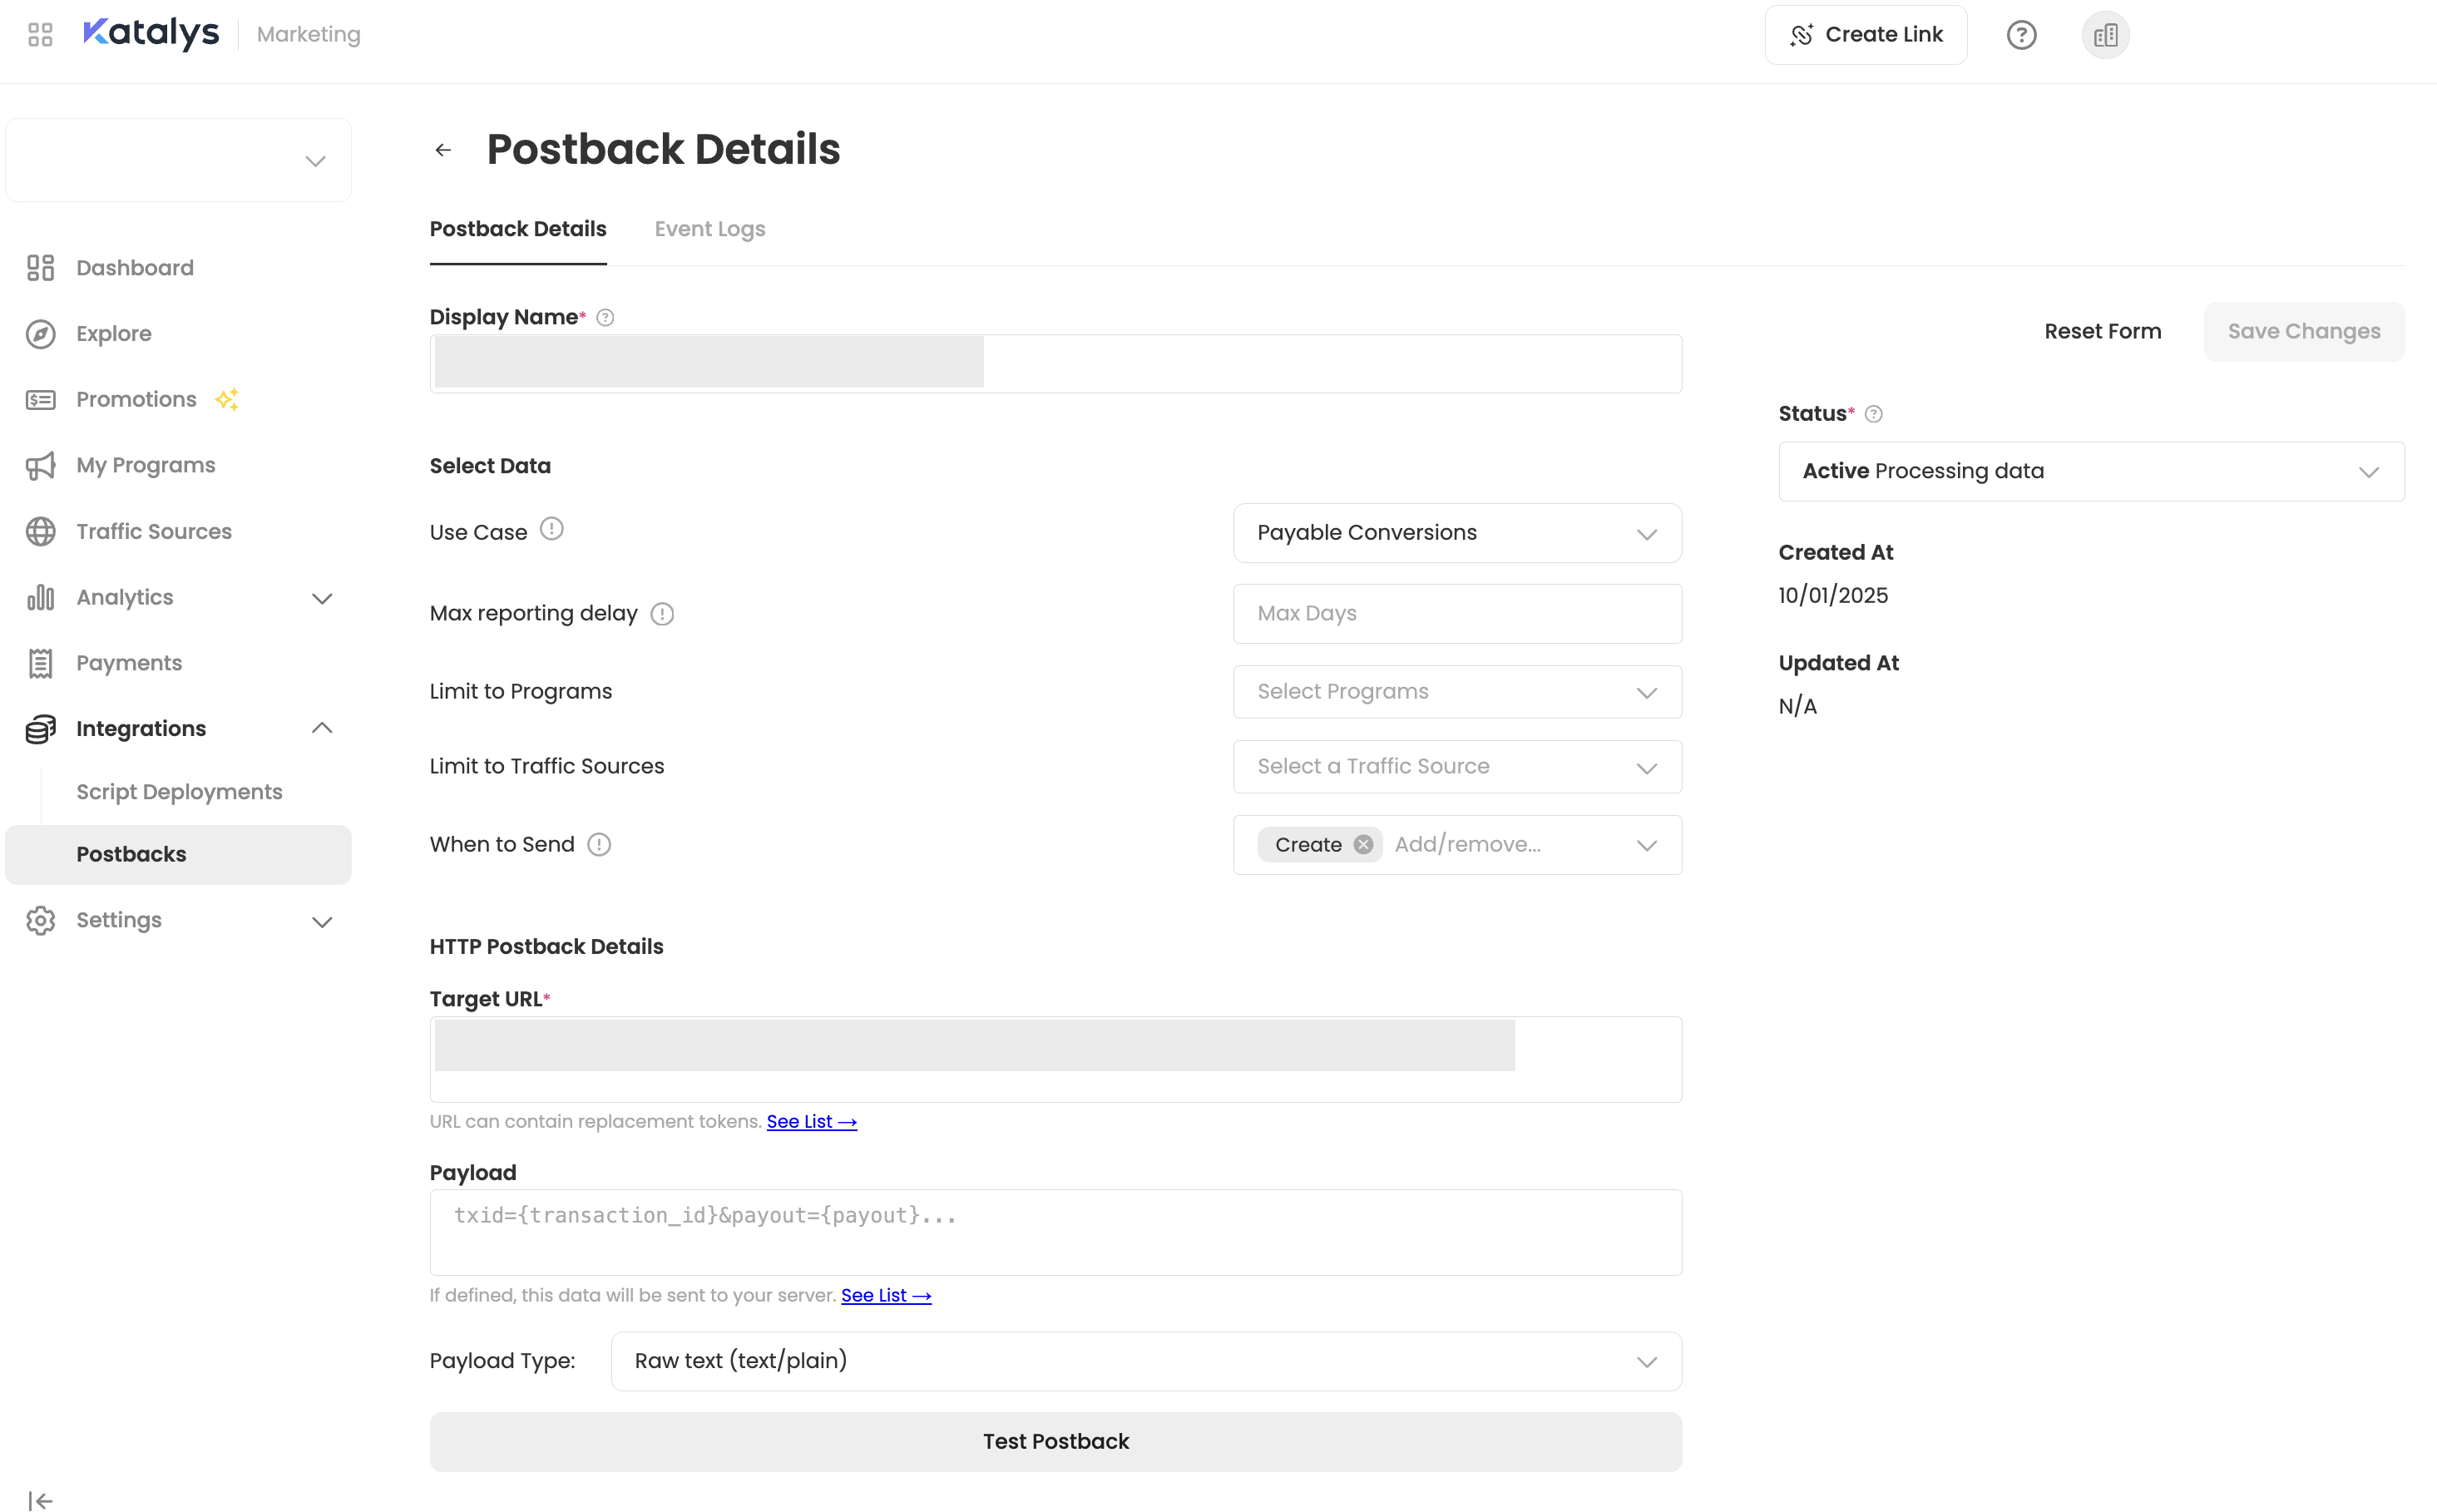
From the Postback Details tab, you can adjust settings for the selected postback. This tab also contains some integration-specific settings that are only available for certain platforms.
Postback Settings:
-
Display Name - Adjust the postback name displayed to your team in the interface.
-
Use Case - Read more about Partner Use Cases and partial attribution ->
-
Max Reporting Delay - By defining this parameter, the postback will only be triggered if the time delay between click and conversion is less than this number of days. This may be important for media buying, when restricting audiences to just the most important traffic.
-
Limit to Programs - Select from a list of your approved Programs to filter and limit conversion data sync from selected Programs.
-
Limit to Traffic Sources - Select from a list of your active Traffic Sources to filter and limit conversion data sync from selected Traffic Sources.
-
Status - Adjust the status from “Active” to “Inactive” or “Archived” via the dropdown menu.
Google Ads Specific Settings:
-
Exception Manager: Click “Manage Expections” to route a value into different Conversion Actions based on a Program ID. This matches best practices when managing Google Ads campaigns.
-
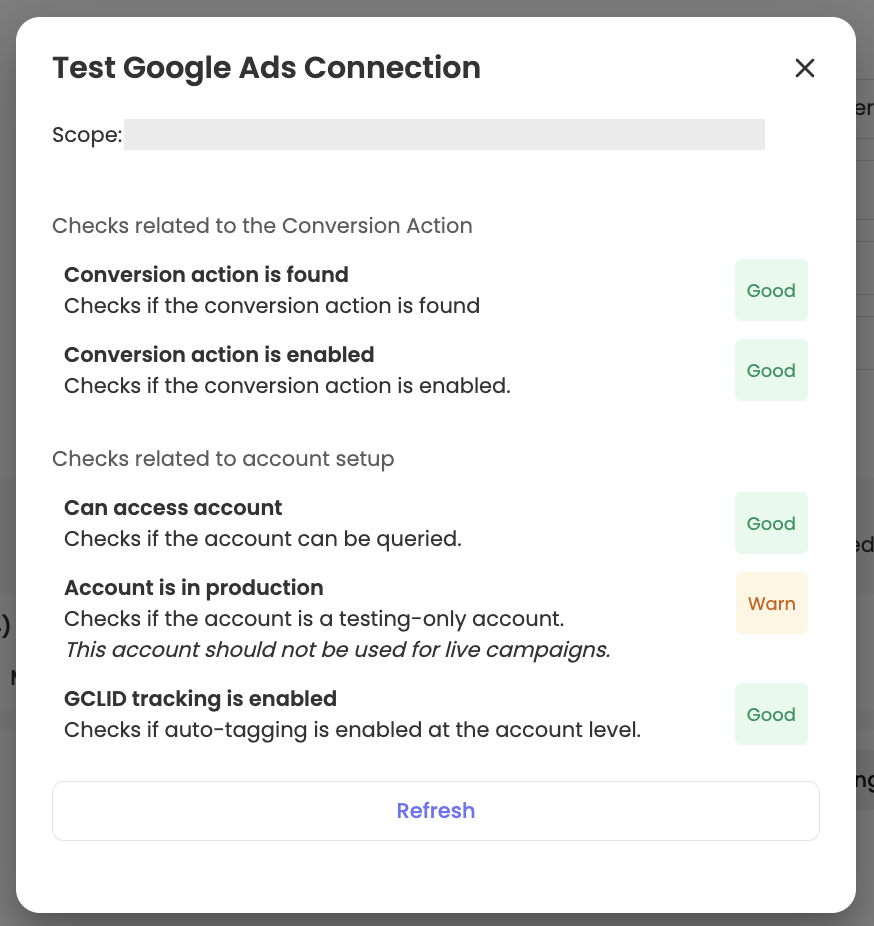
Test Connection: Click “Test Connection” to run a series of checks related to Conversion Action and account setup. Results will display with “Good”, “Warning”, or “Error”.
Webhook Specific Settings:
-
When to Send: Postbacks on other networks typically only give you "create" postbacks, which alert you to new conversions. Katalys can also send you "update" notifications when a conversion changes value, or "delete" when a conversion is rejected. Ensure that you include {conversion_status} in your URL or Payload fields so you can update your records when you receive the notification.
-
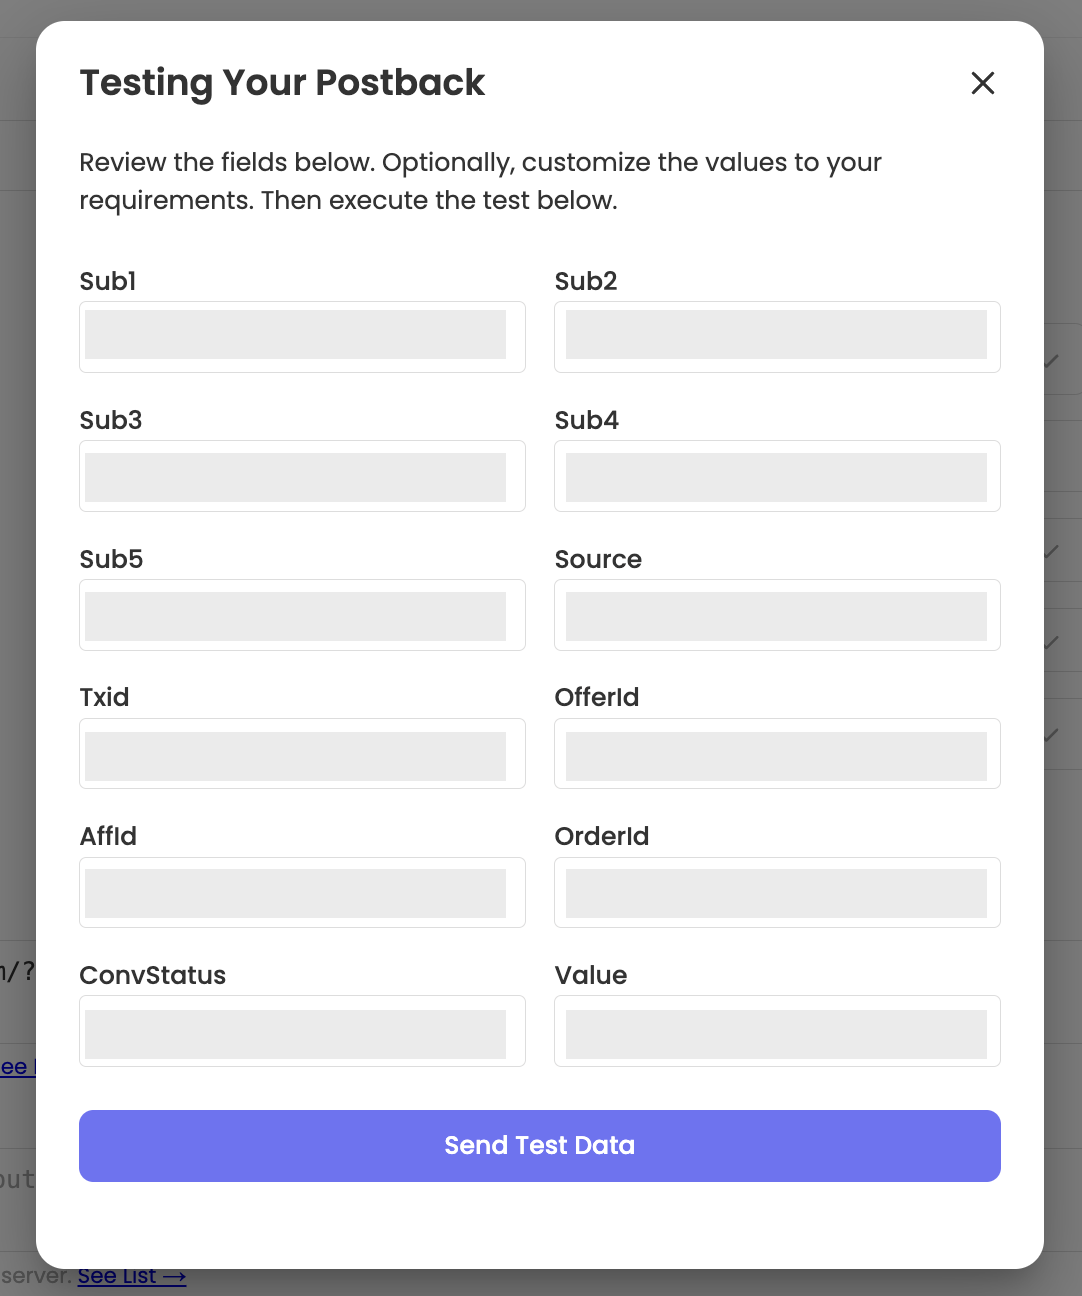
Test Postback: Click “Test Connection”, review fields, and send test data.
Event Logs
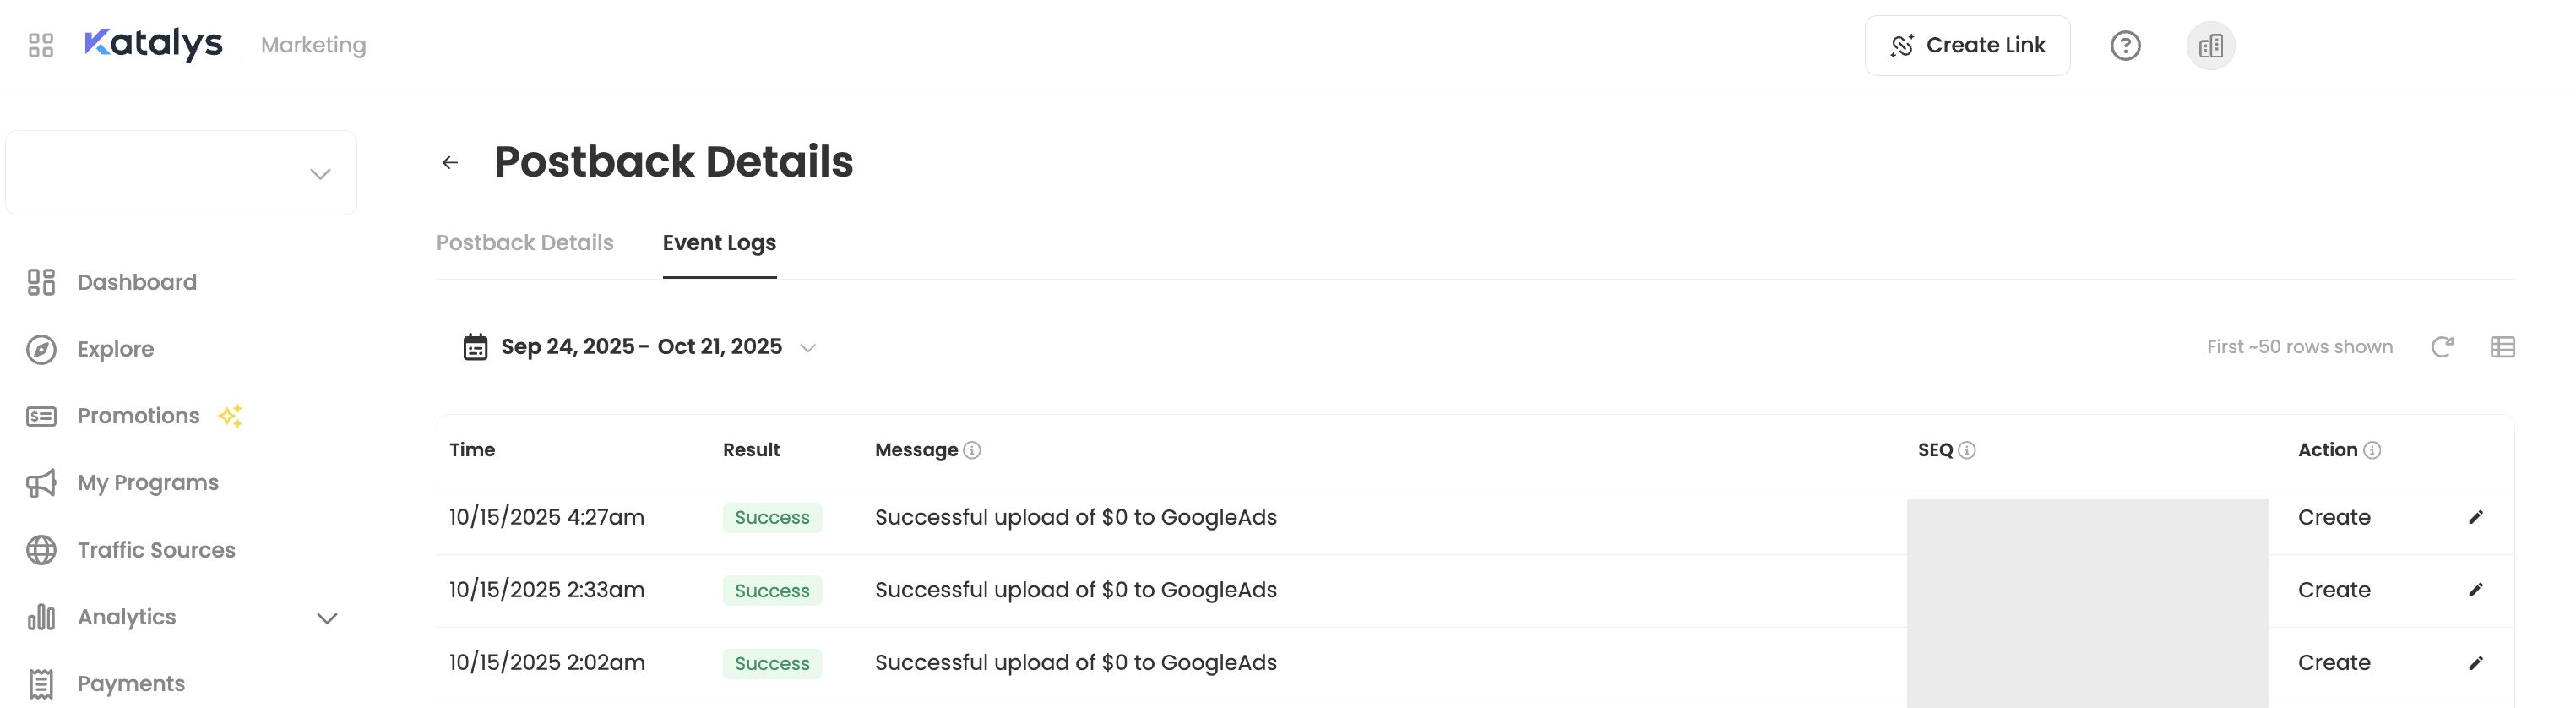
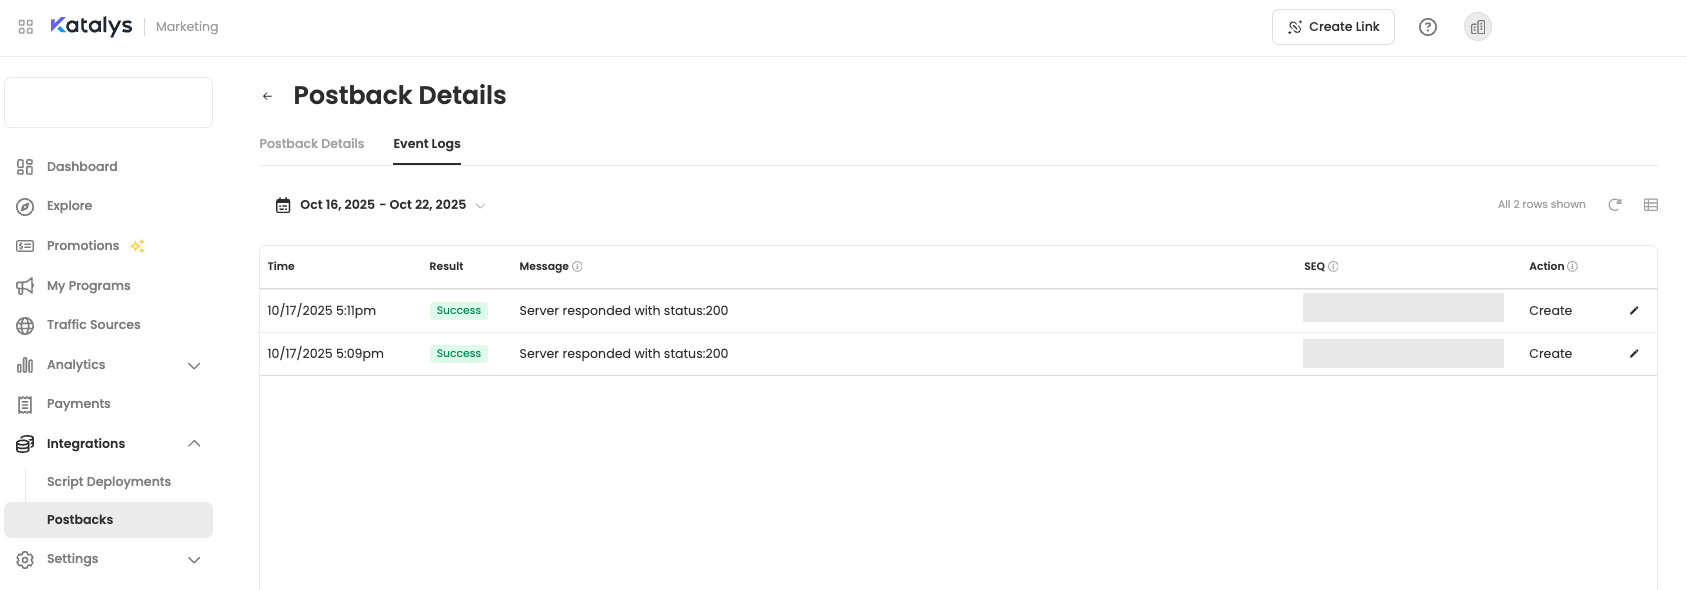
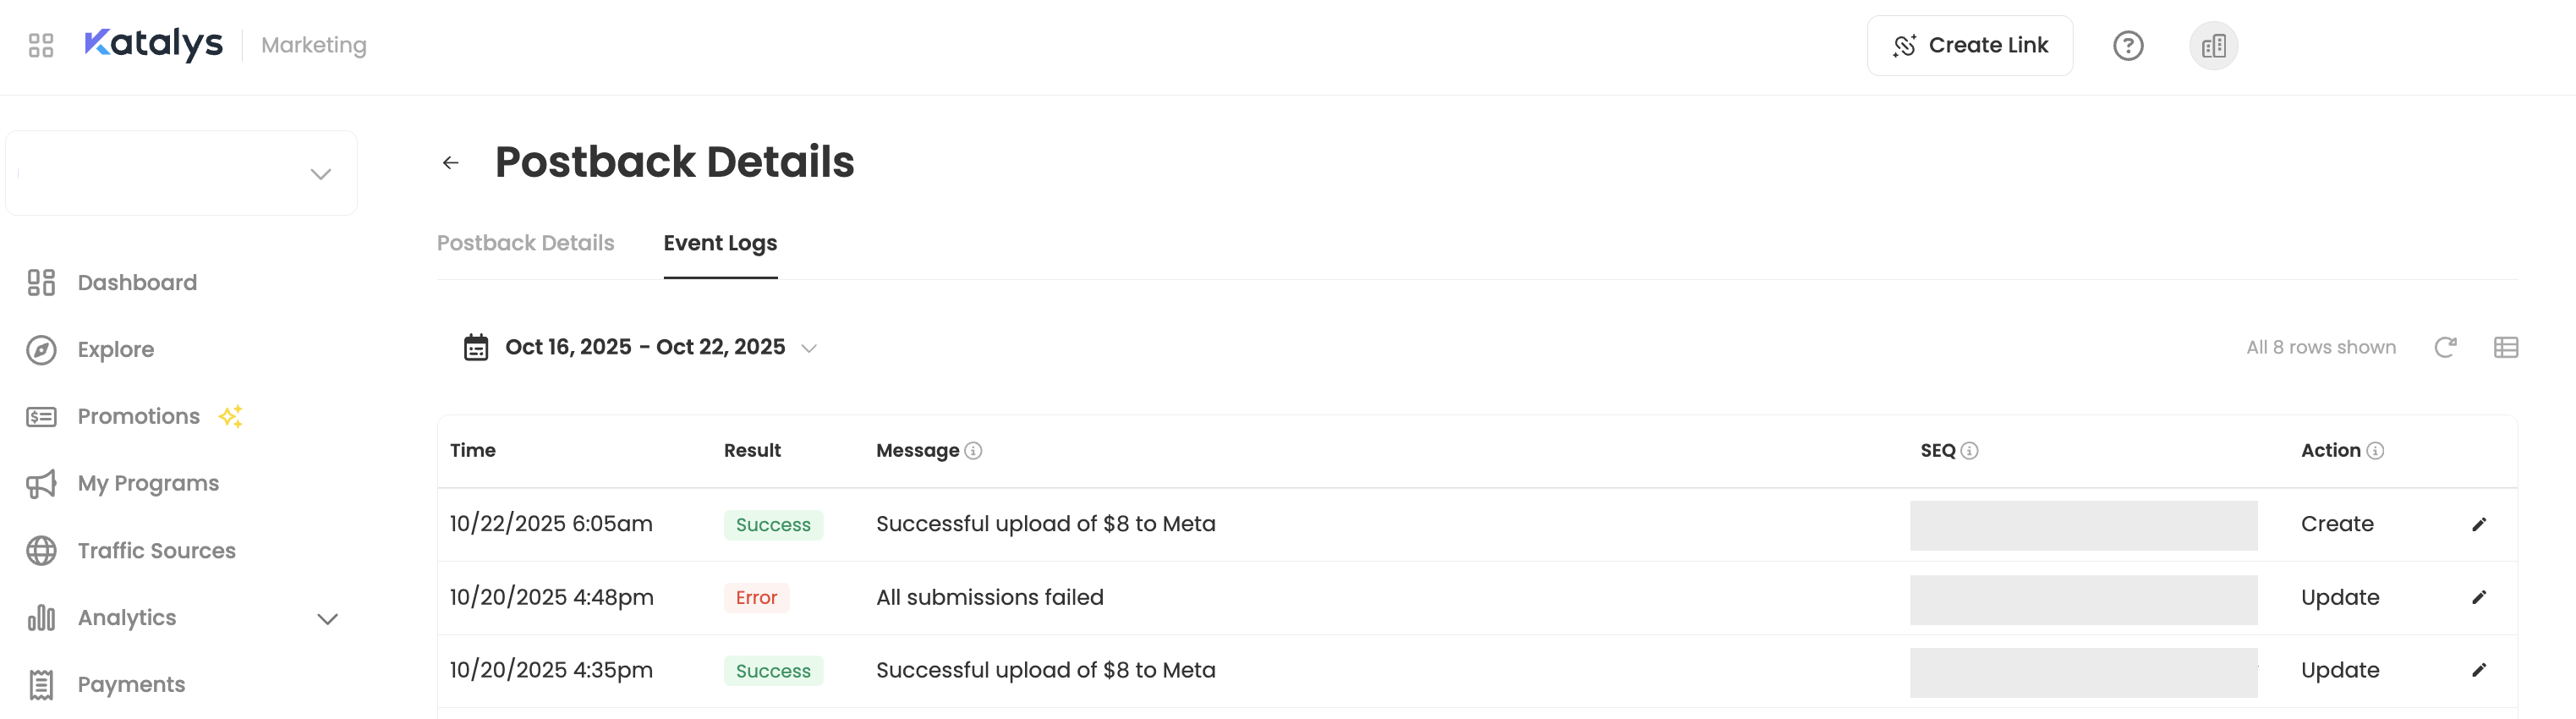
Event logs allow you to review which postbacks were successful vs which failed.
Accessing the Event Log
-
Navigate to Integrations → Postbacks in the Katalys dashboard.
-
Select an existing postback from the list (or create a new one).
-
Open the postback details to view the Event Log tab.
The event log displays events in reverse chronological order, with the most recent events at the top.
Reviewing Event Logs
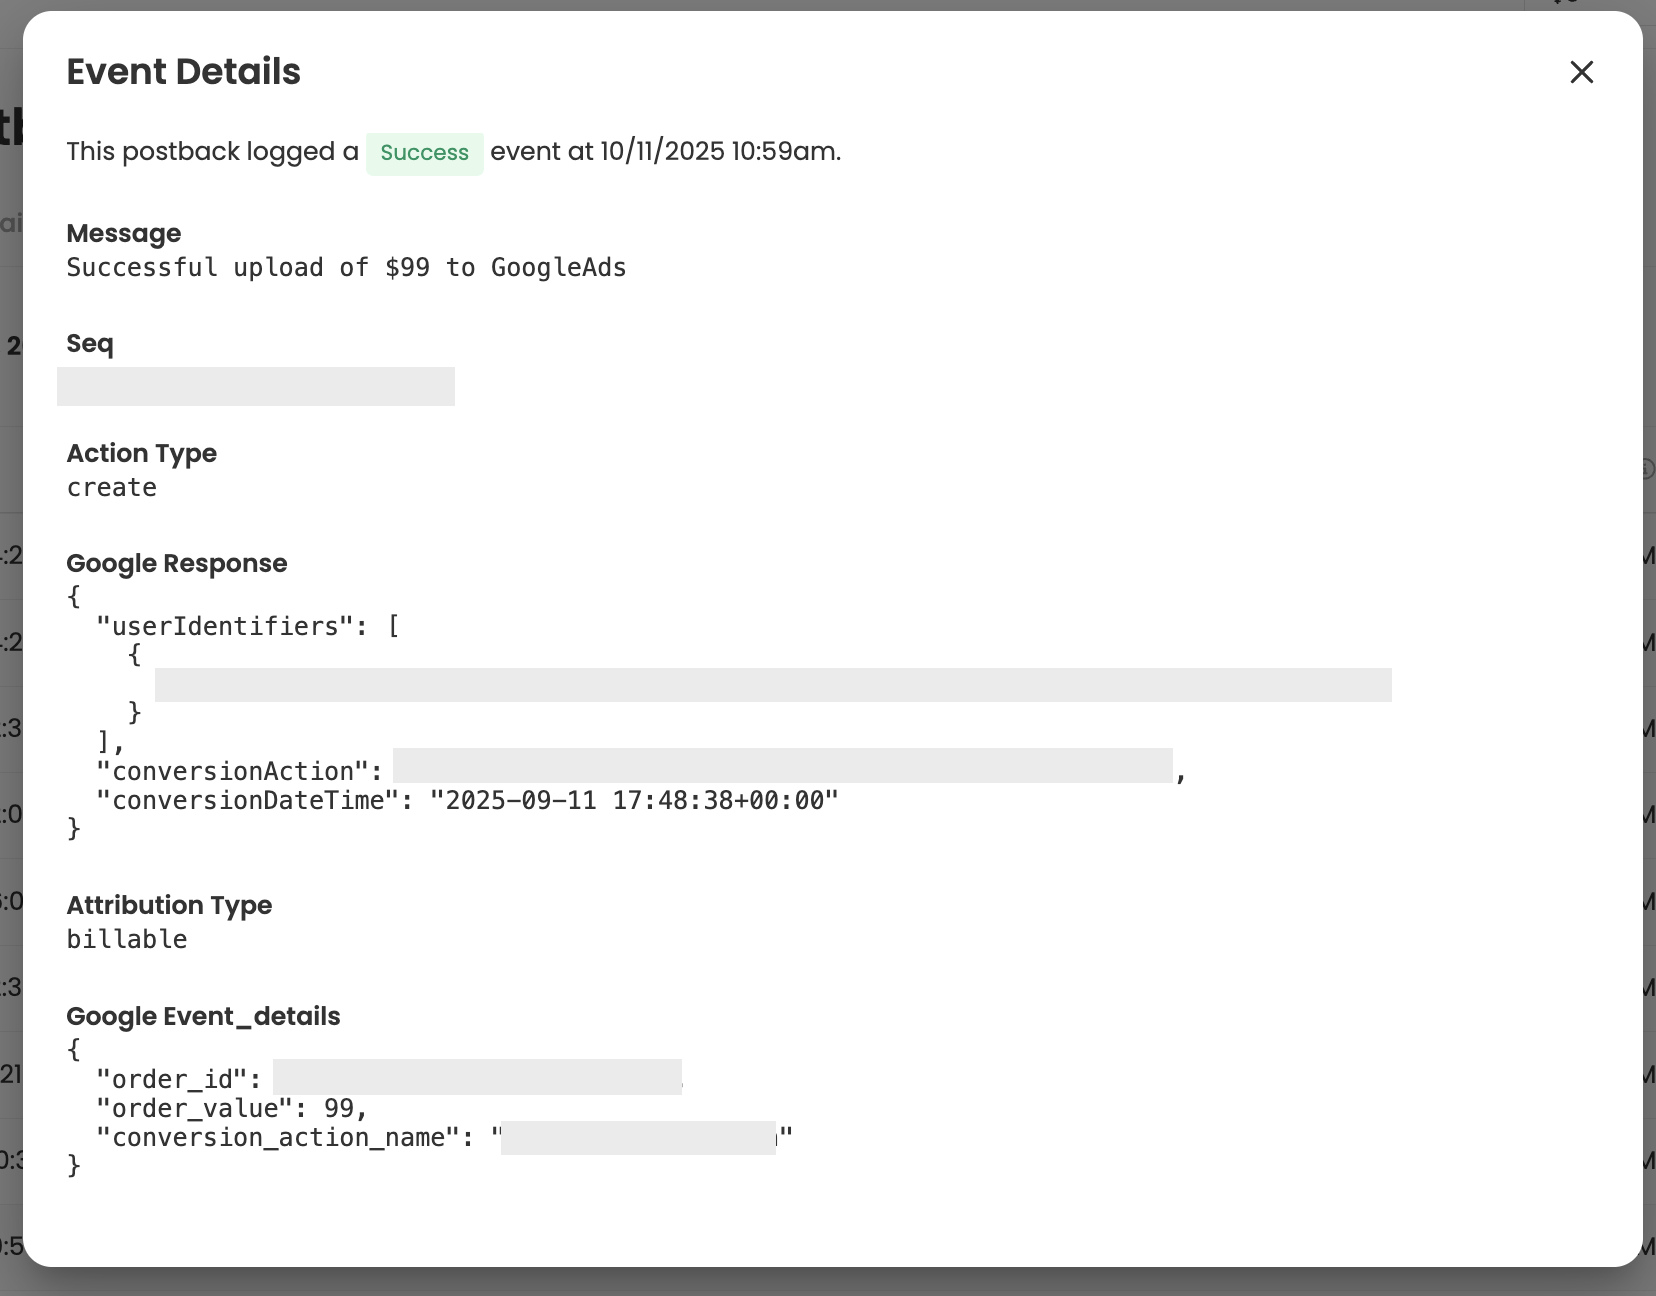
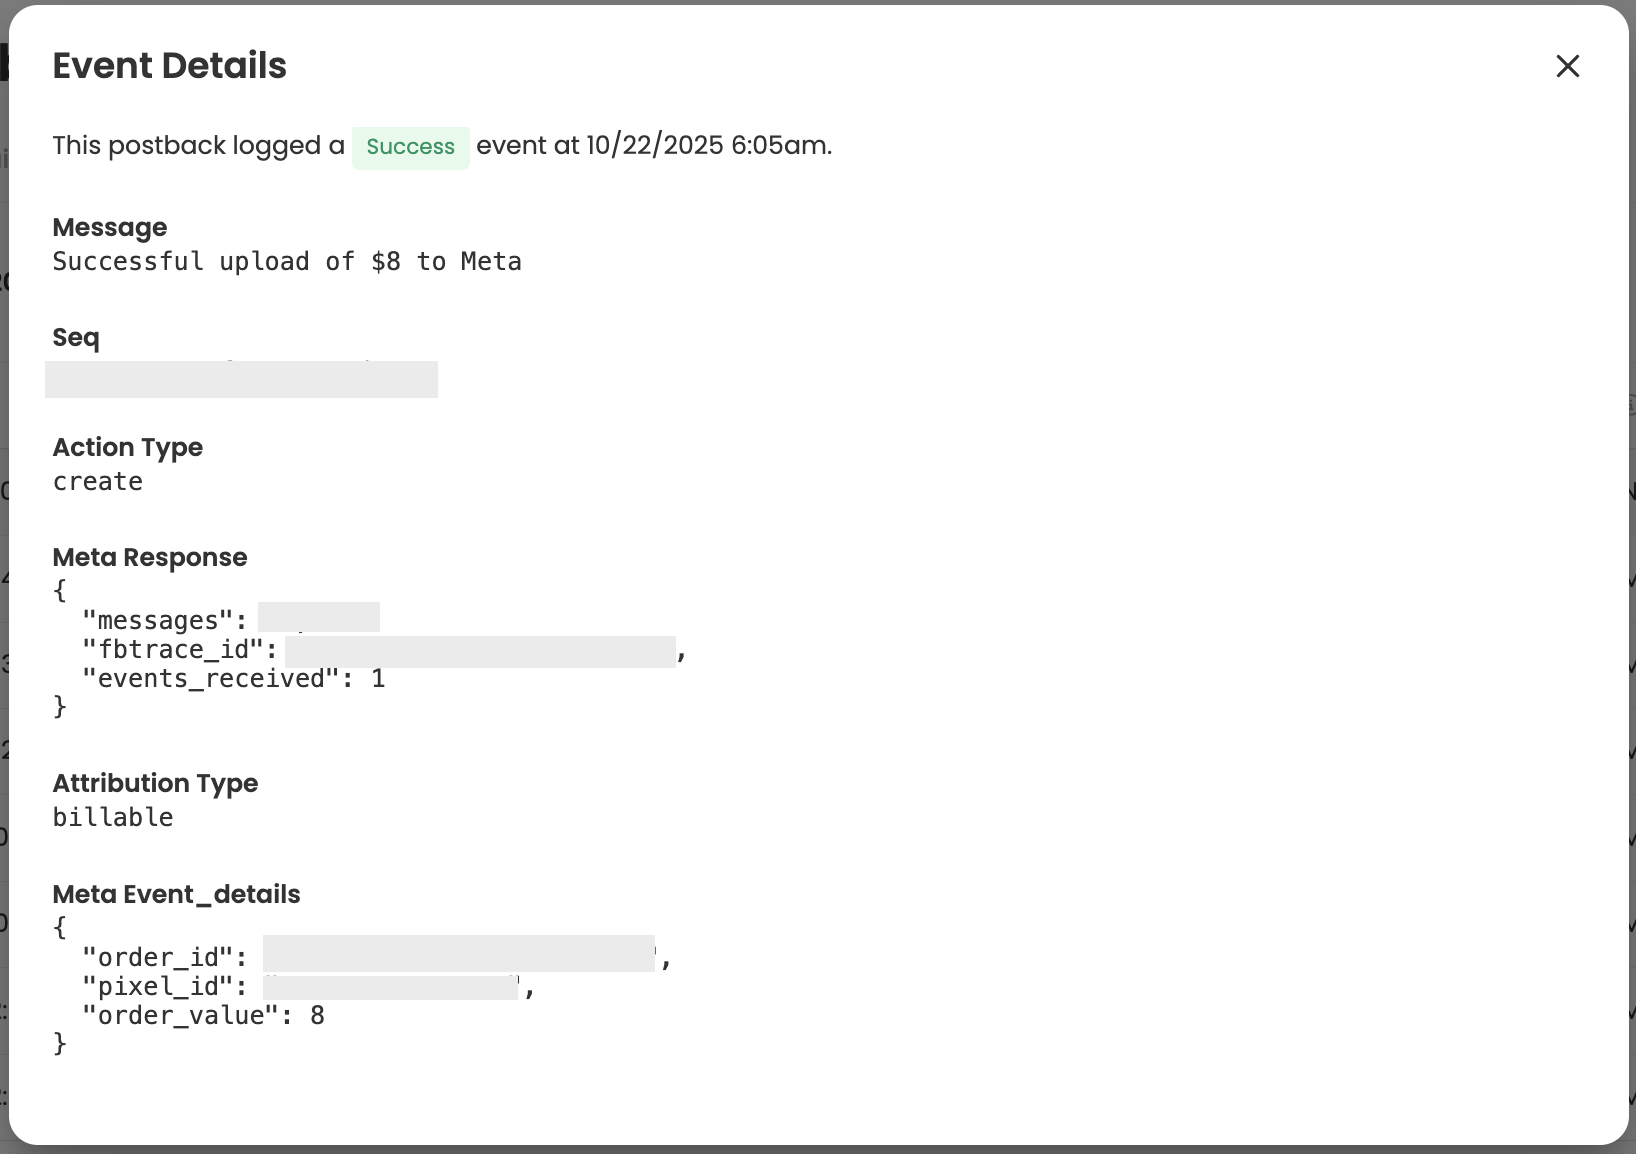
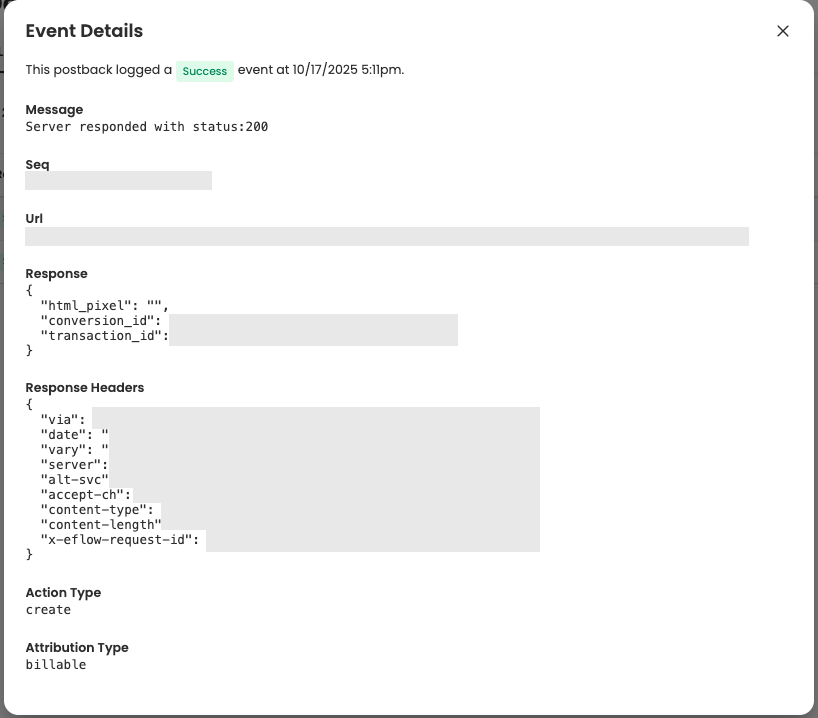
Click any column title to sort that column and click an individual row to view Event Details.
Read more about Attribution Types ->
Each entry in the event log includes:
|
Field |
Description |
|---|---|
|
Time |
The date and time the event was processed |
|
Result |
Delivery result — success, failed, or pending |
|
Message |
Message explaining what happened |
|
SEQ |
The Katalys Sequence ID associated with this order or conversion. This identifier is globally unique to every piece of data collected by Katalys. |
|
Action |
The action-type for this, describing what state-change was being processed. Common values are "create", "update", or "delete". |
Managing Failures
If your postback is failing repeatedly, it will be placed in the “Failed” status.
-
Open the postback Event Log tab and review the log entries. If there is a message highlighting an error or configuration change you need to make, go update your source system or audience.
-
Once you are confident your system can receive postbacks again, change the status to “Active” and click “Save”.
Your postback will now restart. Continue to monitor the Event Logs tab for additional failures.